Ever notice how sometimes the best gifts aren't bought, but just... made? It’s something that crossed my mind the other night, thinking about Raksha Bandhan coming up really soon. There's this whole industry built around it now, which, honestly, is great for convenience – you can find anything from intricate, pre-made designs to personalized silver ones. But it kinda makes you wonder if we’re losing a bit of the personal touch along the way, you know? I mean, the essence of Rakhi, at its core, has always been about that pure, unadulterated bond between siblings, right? Not really about who spent the most on a shiny new something.
💖 Why Go DIY?
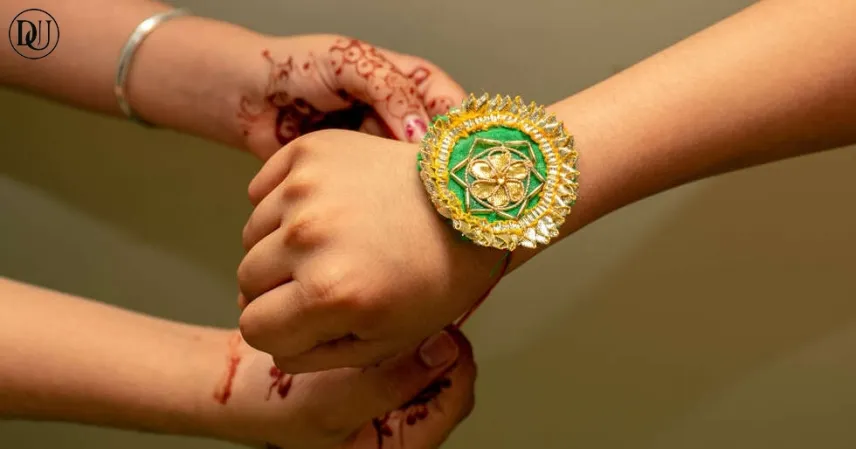
The sentimental value of something handmade is just different, truly. When you craft something, you’re not just putting materials together; you’re pouring in time, thought, and a whole lot of intention. Think about it: imagine your brother tying a Rakhi that you actually sat down and painstakingly made, thinking of him, maybe even a specific inside joke or a shared memory. That’s a connection a store-bought piece, however fancy or expensive, just can’t replicate. It transforms a simple thread into a tangible symbol of affection, effort, and a uniquely personal bond – something incredibly meaningful. It’s almost like you’re weaving your feelings directly into the design. Is that really surprising? People cherish things that took effort, especially when that effort was for them.
✂️ Gathering Your Creative Kit
You don't need a massive craft store haul to get started, surprisingly. Most of the essentials for a simple, yet beautiful, Rakhi are probably lying around your house or are super easy to pick up from a local stationery shop. We're talking basic embroidery floss or any colorful threads you have – cotton, silk, even yarn could work, whatever texture you prefer. Then, think about embellishments: maybe some old beads from a broken necklace, those single earrings that lost their mate, or even shiny buttons. Small pieces of fabric scraps, felt, thick paper, or even cardboard cut-outs can work wonders for creating a focal point. Of course, you’ll need sharp scissors, some strong craft glue – a fabric glue or quick-drying adhesive is ideal – and possibly a fine needle if you’re planning on any intricate stitching or beadwork. A ruler or measuring tape is always helpful, just to keep things uniform and neat. It’s basically about being resourceful and seeing potential in everyday items, which is kind of fun in itself.
Read This Also: Raksha Bandhan's Timeless Flavors: Sweets & Snacks
🧵 The Basic Thread Technique
Starting with a basic thread Rakhi is probably the easiest way into this whole DIY world. You'll want to cut several strands of your chosen thread – maybe 8-12 strands, each about 15-20 inches long, depending on how thick you want the central part and how long the ties need to be. Gather them all together and tie a firm knot near one end, making sure to leave a tail of about 3-4 inches. This tail becomes one of the ties for the Rakhi. Now, for the main body, you have options: you can simply braid the threads, twist them tightly for a more rope-like appearance, or even make a simple macrame knot if you know how. The key is to create a sturdy, attractive central section. It’s pretty straightforward, honestly, and gives you a great canvas for further customization.
Once you’ve braided or twisted about 2-3 inches of your main design – adjust this length based on wrist size preference – tie another firm knot, again leaving a similar 3-4 inch tail on the other end. That’s your basic Rakhi base. It’s incredibly adaptable, and you can make it as simple or as complex as you like, even at this foundational stage. Some people prefer a very minimalist look, and this base is perfect for that; others use it as a starting point for something much more elaborate.
Read This Also: Eco-Friendly Rakhis: Greener Ties, Deeper Bonds
✨ Adding Your Unique Spark
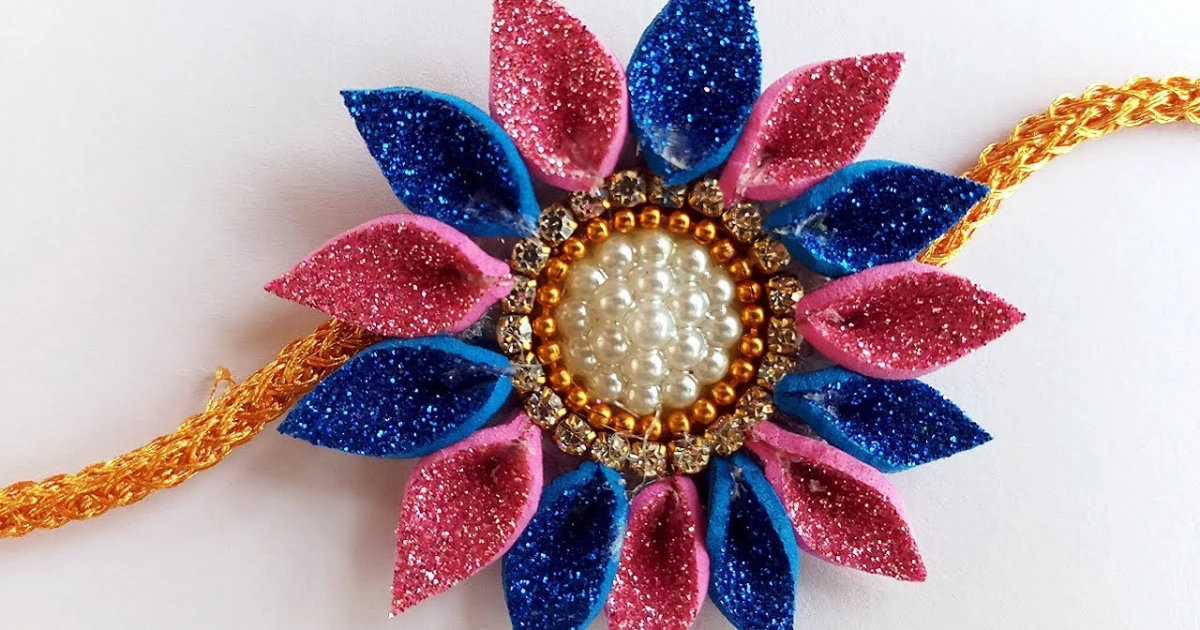
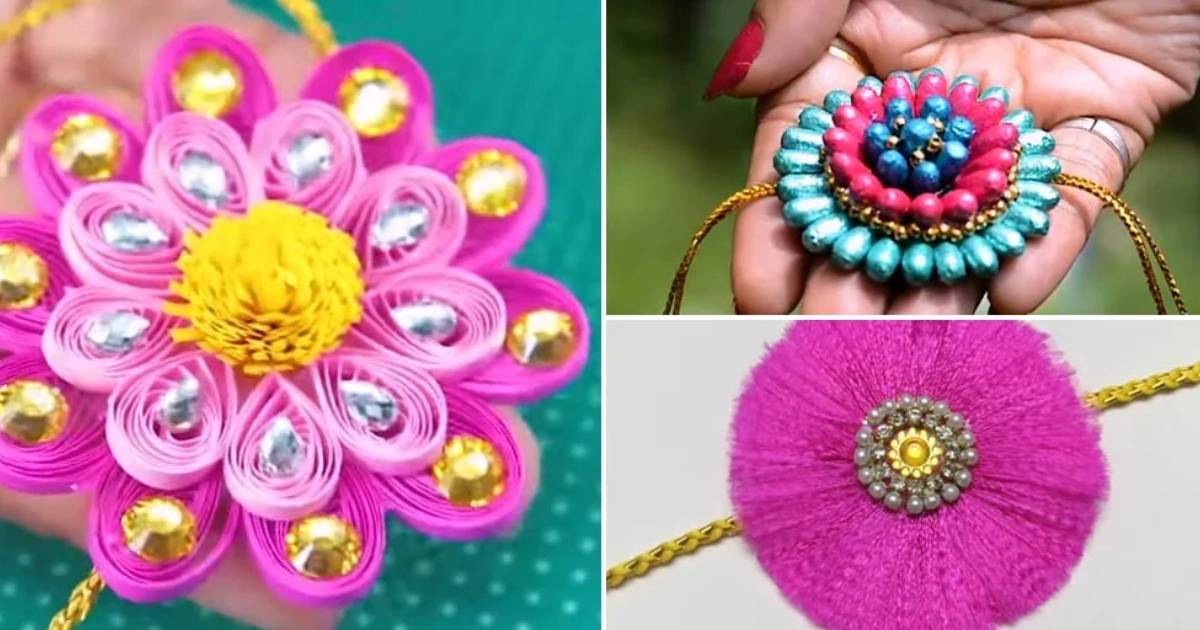
This is where the real creativity kicks in – personalizing it to truly reflect your bond. Have you ever seen those really intricate, beautiful handmade designs? They often start with this exact basic thread base. You can slide beads onto the central braided section before tying the second knot, creating a beautiful beaded centerpiece. Small buttons, sparkling sequins, or even tiny cut-outs from felt in fun shapes like a star or a heart can be meticulously glued onto the central part. If you’re feeling a bit ambitious, you could try embroidering a small initial or a simple, symbolic pattern directly onto a piece of fabric or felt that you then securely attach. Think about your brother's favorite colors, maybe a hobby he absolutely loves – could you find a tiny charm related to his passion, like a tiny football or a book? That kind of detail just elevates it beyond anything you can buy. A bit of glitter glue, or even just some contrasting colored thread wrapped strategically around the central part, can make a huge difference in visual appeal. Don't be afraid to experiment; that’s the whole joy of DIY, isn't it?
⏱️ For the Time-Crunched Creator
Look, sometimes life just happens, and you’re suddenly two days out from Rakhi with zero time to spare for an elaborate craft project. I’ve definitely been there, scrambling at the last minute. Even then, a handmade touch is absolutely possible. Instead of a full, multi-strand braid, you could take a thicker, pre-made decorative cord – like a macrame cord, a piece of satin ribbon, or even a sturdy colourful yarn – and just add one significant embellishment to it. Maybe a single large, eye-catching bead or a beautifully cut paper flower you quickly folded and glued on. You know, Femina had this piece recently about last-minute Raksha Bandhan gifts... and while those ready-to-buy options are super handy if you’re genuinely stuck, there’s just something about a handmade effort that speaks volumes. Even a simplified DIY effort, showing you put thought and a tiny bit of effort into it, really makes a statement. It’s about the gesture, ultimately.
🌟 The Real Rakhi Spirit
Ultimately, making a Rakhi isn’t about achieving some sort of crafting perfection. It’s about the spirit behind it. It's about taking a quiet moment in our incredibly fast-paced, digital lives to intentionally create something tangible for someone you deeply care about. That connection, that personal effort, honestly, it strengthens the bond in a way that’s hard to articulate but profoundly felt. Could be wrong, but I feel like these small, deliberate acts of creation are what truly make festivals memorable, setting them apart from just another holiday on the calendar. It really boils down to celebrating that unique sibling relationship with something that's uniquely yours – a tiny piece of your time and heart. And that, I think, is pretty cool and important in an increasingly impersonal world.